Wednesday, August 20, 2025
PUMPKINS ON PLAID BLANKETS
Pumpkins On Plaid Blankets

Learning Targets
I can...
- Create an original Pumpkins On Plaid Blankets using collage techniques learned in class
- Use line types (horizontal, vertical, diagonal), shape variation (geometric, organic, free form), and value (lightness, darkness, tone) inspired by Contemporary Artist (1929-Present) Yayoi Kusama
- Use shading techniques (tone, darkness, lightness, depth) and design principles (composition, repetition, balance) based on Contemporary Art
- Define Pipette Painting (an art technique where liquid paint is applied to a surface using a dropper instead of traditional brush)
Lesson One
Day One, Art Start
1. Pumpkin (2018) Yayoi Kusama

2. Read The Runaway Pumpkin by Kevin Lewis

3. Discussion Questions "Does this pumpkin symbolize abundance, harvest to transformation, or playfulness? How was the pumpkin significant in different art movements? How does this painting, with its quiet simplicity, offer insight into how art can serve as a form of resilience or refuge during dark times? What does it suggest about how art reflects emotional and historical realities? How can we apply this idea to other areas of life or creative expression? In what ways can simplicity and calmness be forms of resistance to suffering? How might this reflect the artists view of the world? Can you think of other ways artists (writers, filmmakers) use everyday objects to explore bigger ideas like time, mortality, or beauty? How does knowing about the artists personal life change the way you view these pumpkins?"
Lesson Activities
1. Use geometric shapes (oval, circle, rectangle) to draw an assorted vegetable (pumpkin, onion, squash) for the pumpkin collages
2. Use geometric shapes (oval circle rectangle) to draw details (stems, leaves, table) for the pumpkin collages
3. Use line types (horizontal, vertical, diagonal) to draw the positive space (pumpkin) and details (stem, leaves, table) of the Pumpkins On Plaid Blankets
Day Two, Art Start
1. Retrieve Pumpkins On Plaid Blankets for Assigned Tables
2. Red Colored Pumpkin (1994) Yayoi Kusama

3. Discussion Questions "If you had to paint something from your own background or daily life, what would you choose? How does art help us celebrate ordinary things? What emotions or ideas do you think this artist is trying to express with these choices? How does this painting challenge traditional still-life paintings you have seen before? What makes it feel more modern or different? What objects from nature would you choose to paint or draw to show themes of growth or life? How do you think color alone can make us think of objects or seasons, even if they are not there? How does the artist use lines and colors to represent a well-known object? How does the use of subtle colors change the mood of the painting? Why do you think artists' styles change over time? Can you think of an example of an artist, musician, or write whose style has changed as they have gotten older or experienced new things?"
Lesson Activities
1. Use line types (horizontal, vertical, diagonal) to add details (stems, leaves, vines) to the positive space (pumpkins, foreground) of the pumpkin collages
2. Use oil pastels to fill in the positive space (pumpkins, foreground) with neutral colors (black, grey, white) for the pumpkin collages
3. Use oil pastels to fill in the negative space (background, blanket) with neutral colors (black, grey, white) for the Pumpkins On Plaid Blankets
Day Three, Art Start
1. Retrieve Pumpkins On Plaid Blankets for Assigned Tables
2. Set Up Studio Area (tempera paint, paint brushes, water buckets)
Lesson Activities
1. Add pumpkin parts (brown stem, green leaves, vines) with neutral colors (black, white, grey) for pumpkin collages
2. Use texture techniques (eraser, cloth, sponge) to add details (stems, green leaves, vines) for the pumpkin collages
3. Add highlights (reflective light, light source) and shadows (cast shadow, shadow) to the negative space (background) of the Pumpkins On Plaid Blankets
Artist Examples


 Student Examples


Monday, November 11, 2024
NORTHERN LIGHTS NARWHALS SCRATCH ART
Northern Lights Narwhals Scratch Art

Learning Targets
I can...
- Create an original Northern Lights Narwhals Scratch Art using drawing techniques learned in class
- Use line types (horizontal, vertical, diagonal), shape variation (geometric, organic, free form), and color combinations (analogous, complementary, secondary) inspired by Contemporary Artist (2009-Present) David Scheirer
- Use art element: line (horizontal, vertical, diagonal) and design principles (proportion, gradation, composition) based on Contemporary Art
- Define Scratch Board (a technique where the artist scratches away ink to reveal a color underneath)
Day One, Art Start


Lesson Activities
1. Choose a narwhal reference photograph for the positive space (foreground, drawing, animal) of the Northern Lights Narwhals
2. Use line types (horizontal, vertical, diagonal) to fill in the positive space (foreground, animal) of the Northern Lights Narwhals
3. Use line types (horizontal, vertical, diagonal) to fill in the negative space (background, landscape) of the Northern Lights Narwhals
Day Two, Art Start
1. Retrieve Northern Lights Narwhals Scratch Art for Assigned Tables
2. Whimsical Narwhals Arctic Nursery Wall (2009) David Scheirer

3. Discussion Questions "What materials and techniques did you use? What was challenging or rewarding about the process? Why did you choose these colors, shapes, lines, or textures? What was your inspiration? How did you feel while making this artwork? How do you hope others will feel when they look at your work? What title would you give your artwork? Why would you give this title to your artwork? What would you change about your piece? Where would you like to display your artwork? What can you tell me about your artwork? What was your inspiration for this artwork? What did you struggle with as you were making this artwork? Where would you like to display your artwork?"
Lesson Activities
1. Draw a light outline of the selected narwhal reference for the positive space (foreground, animal) onto the scratch boards
2. Use graphic techniques (engraving, carving, scratching) with a stylus to add highlights (light source, reflective light) to the Northern Lights Narwhals
3. Use graphic techniques (engraving, carving, scratching) with a stylus to add shadows (reflective light, cast shadows) to the Northern Lights Narwhals
Day Three, Art Start
1. Retrieve Northern Lights Narwhals Scratch Art for Assigned Tables
2. Set Up Studio Area (stylus, washable ink, colored pencils, glitter)
Lesson Activities
1. Use graphic techniques (engraving, carving, scratching) with a stylus to finish adding details (clouds, stars, waves) to the Northern Lights Narwhals
2. Add value (lightness, darkness, highlights, shadows) to the positive space (foreground, animal) of the Northern Lights Narwhals
3. Add details (clouds, stars, waves) using illustrative techniques (hatching, stippling, cross hatching) to the final Northern Lights Narwhals
Artist Examples
 Student Examples


Friday, November 17, 2023
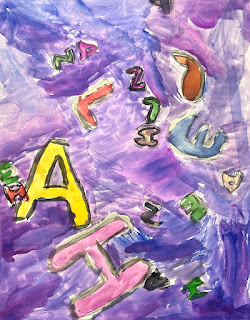
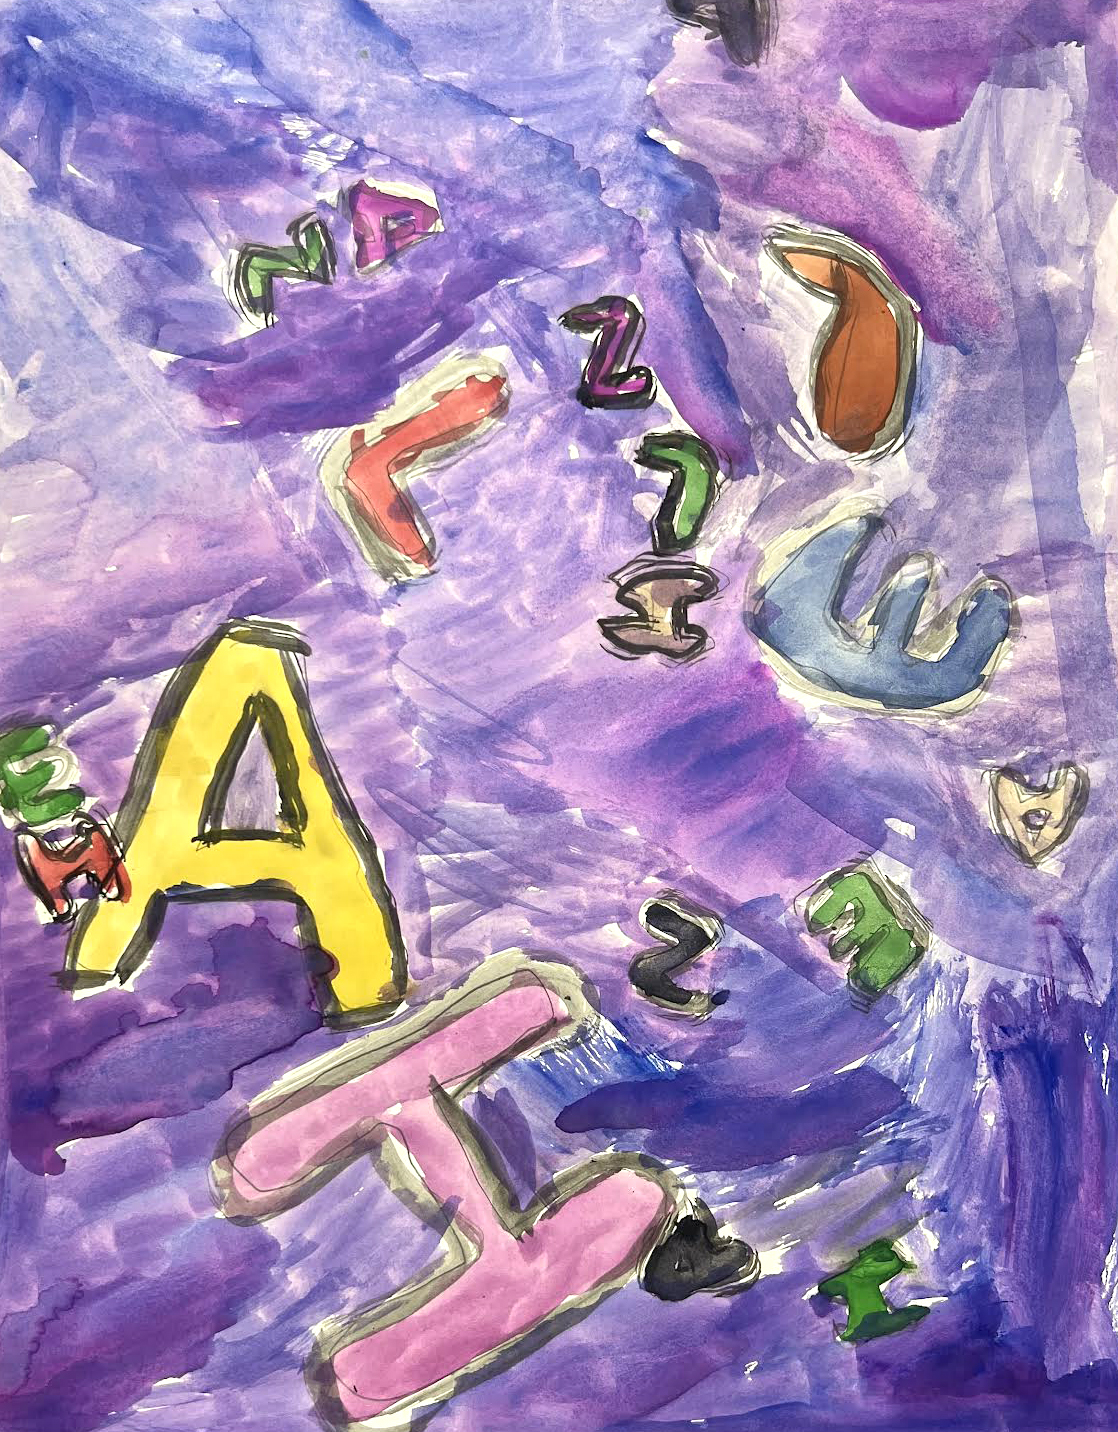
HIDDEN WORD PAINTINGS
Hidden Word Paintings
Learning Targets

I can...
- Create an original Hidden Word Paintings using drawing techniques learned in class
- Use line types (horizontal, vertical, diagonal), shape variation (geometric, organic, free form), and space (positive, negative) inspired by American Painter (1943-Present) Kay Rosen
- Use typography (font, contrast, grids, spacing) and design principles (proportion, repetition, balance) based on Contemporary Art
- Define Font (a graphical representation of text that can have different sizes, colors, or designs)
Lesson One
Day One, Art Start
1. Turn (2018) Kay Rosen

2. Read Type: A Visual History Of Typefaces And Graphic Styles (1628-1900) by Jan Tholenaar

3. Discussion Questions "Did you leave adequate spacing in the artwork? Is the color contrast optimized for legibility? Are the sizes effective? Does the typography communicate visually? Are the formats consistent? Is the text effective on all devices? What emotions and moods do these fonts express? How do these Eries of words present a message? What is the difference between kerning and tracking? What is important about kerning and tracking when designing artwork? Have you tried the method of foil printing? What is letter? How do you know? How does it look the same as the one we used? What are the differences?"
Lesson Activities
1. Choose 12" X 15" Painting Paper
2. Use protractors, rulers, and letter stencils to fill in the positive space (letters) of the word paintings
3. Use size differentiation (small, medium, large) to add a focal point in the positive space (letters) of the Hidden Word Paintings
Day Two, Art Start
1. Retrieve Hidden Word Paintings for Assigned Tables
2. This Means War (2015) Kay Rosen

3. Discussion Questions "What happens when you overlap things in your own artwork? What similarities do you notice in these artworks? What differences do you notice in these artworks? How could you use a stencil to create letters in your own artwork? What are some ways you can make an object, person, or place look like a print? What is a font? What is a stroke? What is a foot in a letter? What is uppercase? What is lowercase? Does the typography communicate visually? What is going on in this artwork? What was your first reaction to this artwork? Why do you think you had this reaction? does your opinion about the artwork change the longer you look at it? What types of liens are being used in this artwork? What types of colors are being used in this artwork? Which area of the artwork is emphasized by the artist? Which area of the artwork is most important?"
Lesson Activities
1. Use protractors, rulers, and letter stencils to fill the negative space (background) of the word paintings
2. Use size differentiation (small, medium, large) to add a focal point in the negative space (background) of the word paintings
3. Use highlights (reflective light, light source, highlights) to fill in the positive space (foreground) of the Hidden Word Paintings
Day Three, Art Start
1. Retrieve Hidden Word Paintings for Assigned Tables
2. Set Up Studio Area (tempera paint, scissors, glue sticks, paintbrushes)
Lesson Activities
1. Use shadows (reflective shadow, cast shadow, shadow) to fill in the negative space (background) of the word paintings
2. Use neutral colors (black, grey, white, brown) to fill in the negative space (background) of the word paintings
3. Add relief pieces (styrofoam pieces, cardboard, poster board) to fill in the positive space (foreground) of the Hidden Word Paintings
Artist Examples


 Student Examples






 Posts

